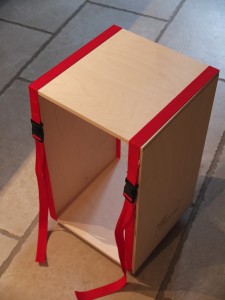
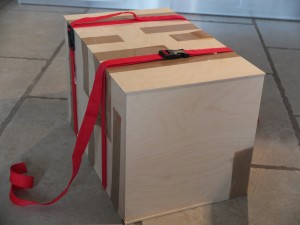
| I realise that in all the excitement of my recent visit to BC I neglected to finish the story of my Cajon. I thought you might like to see how it was put together. The main body is glued. The straps are required to allow the glue to set thoroughly to make the joints as strong as possible. |
 |
| An internal brace is glued to the front of the top of the Cajon. This will carry the snares and support to screwed top of the playing surface. |
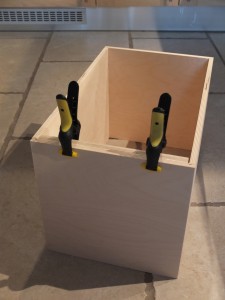 |
| Side braces are required for the parts of the playing surface that are screwed rather than glued. |
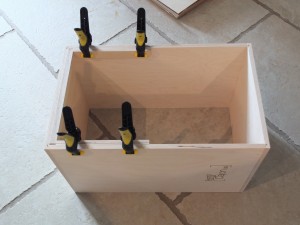 |
| The snares are attached. |
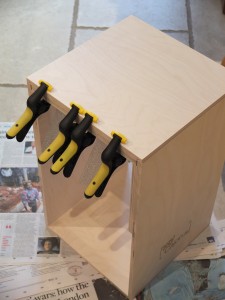 |
| The playing surface and the back of the cajon are now glued in place, though no glue is applied to the top part of the playing surface which is screwed later. This enables it to vibrate freely and to be tuned by tensioning the screws. |
 |
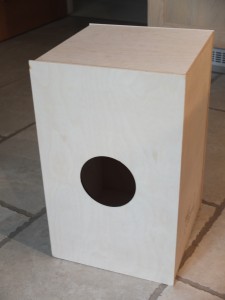
| Here is the cajon ready for finishing. The sound hole at the back was cut previously in School on our laser cutter! Very fancy!! |
 |
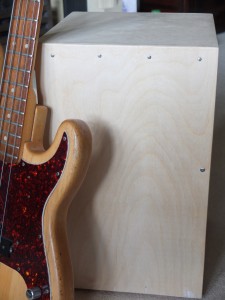
| Trimmed, sanded, screwed and given two coats of wax – the cajon is finished and ready for action… |
 |


Recent Comments